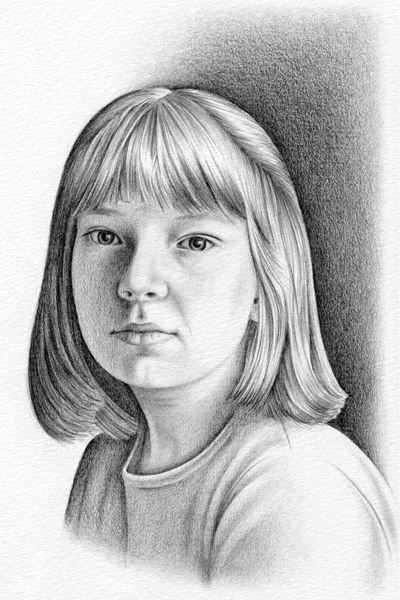
Introduction How to Draw a Self Portrait
How to draw a self portrait not only a great way to express your artistic skills, but it also allows you to capture your unique features and personality on paper. Whether you’re an aspiring artist or a beginner, this step-by-step guide will provide you with the necessary techniques and tips to create a stunning self-portrait. So, grab your sketchbook and let’s get started!
Gather your Art Supplies
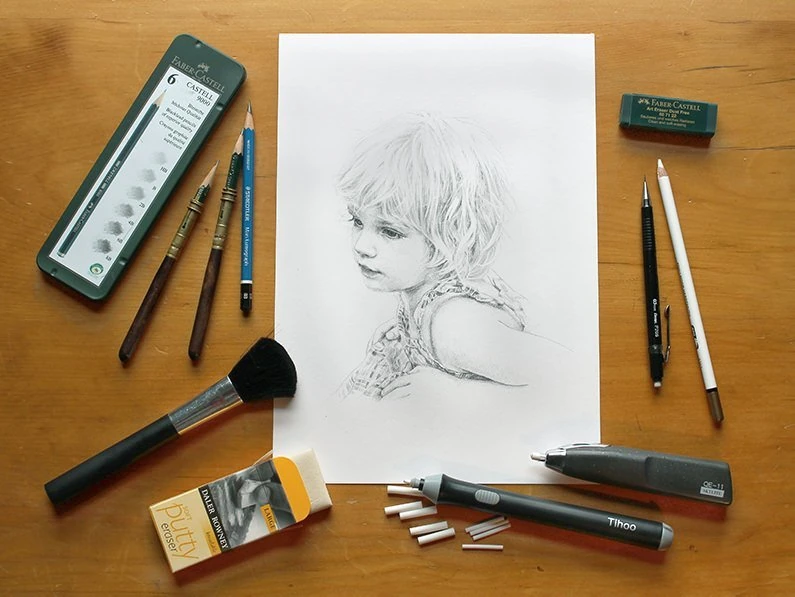
Before you embark on your self-portrait journey, you’ll need to gather the necessary art supplies. Here’s a checklist of the essentials:
– Graphite pencils of varying shades (2H, HB, 2B, 4B) (View on Amazon)
– Drawing paper or sketchbook (View on Amazon)
– Eraser (kneaded or vinyl) (View on Amazon)
– Blending stumps or cotton swabs (View on Amazon)
– Mirror or a well-lit room with a mirror (View on Amazon)
Creativity is essential, think about being different.
Find the Perfect Pose
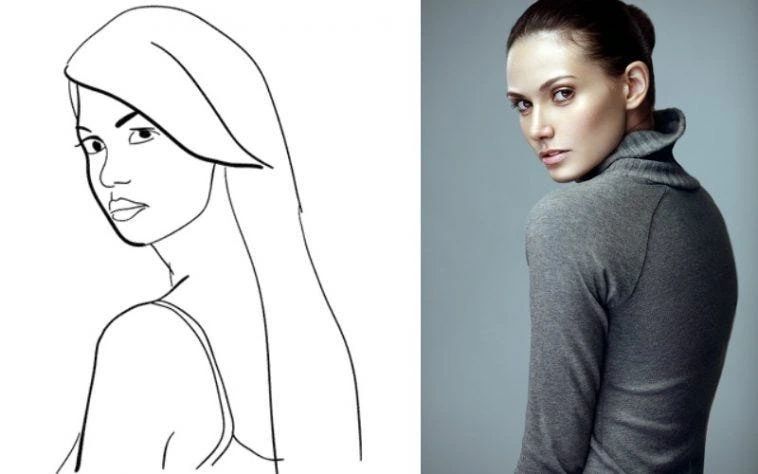
To create a realistic self-portrait, it’s important to find a comfortable pose that you can hold for an extended period. Position your mirror in a way that allows you to observe your features from different angles. Experiment with different poses and expressions until you find the one that best reflects your personality. Remember, patience is key!
Start with Basic Shapes
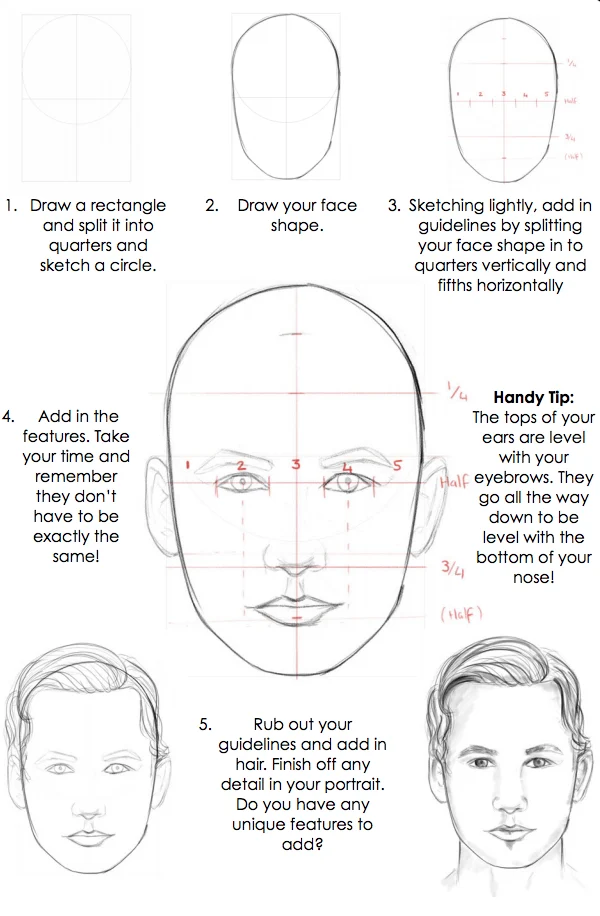
Begin by lightly sketching the basic shapes that make up your face. Start with an oval shape for the head and add guidelines for the eyes, nose, and mouth. These guidelines will help you establish proper proportions and placement of facial features. Don’t worry about adding details at this stage; focus on getting the overall structure right.
Define Facial Features
Once you’re satisfied with the basic shapes, gradually add more definition to your facial features. Pay close attention to the proportions, shadows, and highlights that make your face unique. Use different shades of graphite pencils to create depth and dimension, starting with lighter shades and gradually building up to darker ones. Remember to blend the shades seamlessly using blending stumps or cotton swabs for a smooth transition.
Refine Details and Textures
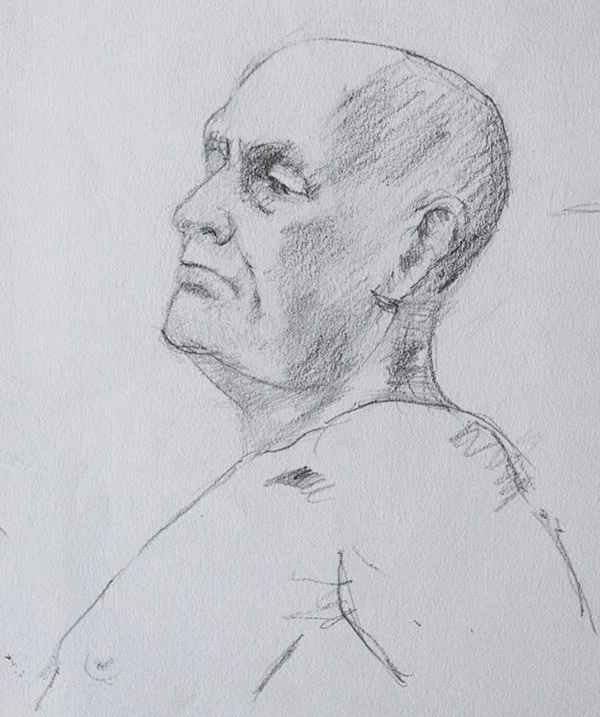
Now that you’ve established the foundation, it’s time to add finer details and textures. Pay attention to the intricate lines, wrinkles, and contours that define your face. Take small, deliberate strokes with your pencils to capture the nuances of your features. Use hatching and cross-hatching techniques to create realistic textures and shading. Remember to step back occasionally and observe your drawing from a distance to ensure accuracy.
Work on Shadows and Highlights
Shadows and highlights play a crucial role in giving your self-portrait a sense of depth and realism. Pay attention to the lighting in your reference image and use that as a guide to create shadows and highlights on your drawing. Darken areas that appear in shadow, and use lighter shades for areas that catch the light. Gradually build up the intensity of the shadows and highlights to achieve a three-dimensional effect.
Final Touches
Take a step back and evaluate your self-portrait. Make any necessary adjustments to proportions, values, or details. Use an eraser to lighten areas that appear too harsh and smudge them gently with a blending stump for a more natural look. Trust your artistic instinct and feel free to experiment with different techniques until you’re satisfied with the final result.
Conclusion How to Draw a Self Portrait
Drawing a self-portrait is an exciting and rewarding artistic endeavor that allows you to celebrate your individuality. By following this step-by-step guide, you now have the tools and techniques to create a stunning self-portrait. Remember, practice makes perfect, so keep honing your skills and exploring your artistic style. Capture your unique features, emotions, and personality on paper, and let your creativity shine through!
